Have a crushed or squashed velvet flower you thought was beyond saving? You're not alone—and you don't have to throw it away! In today's tutorial, I'm restoring two velvet flowers: one that's been completely flattened, and another that's lost its fluff.
These two had been severely deformed due to squeezing and impact, but with a little care, patience, and technique, we gave them a second life.
🎥 Watch the full restoration video here:
Part 1: Fixing a Flattened Velvet Flower
Let’s start with the first flower, which had been flattened nearly beyond recognition.
Step 1: Disassemble Gently
Remove the flower from its base, then carefully separate the petals one by one. When I reached the bottom, I found UV glue had been applied. It was too strong to pull apart without damage, so I left the glued parts intact.
Normally, you’d fully disassemble the flower to its pre-assembled state—but this one called for a gentler approach.

Step 2: Adjust the Flower Center
Straighten the flower center, then pour out a small amount of setting solution (or hairspray). Dab a little on your finger and apply it lightly to the petals, one layer at a time.
⚠️ Important: Petals coated with setting solution should not touch each other—they'll stick together permanently!
Use tweezers to gently shape and lift the petals.
Step 3: Remove or Reinforce Damaged Petals
If a petal won’t stay upright, its copper wire may be broken. Remove any petals that fall off easily—they can ruin the overall shape.
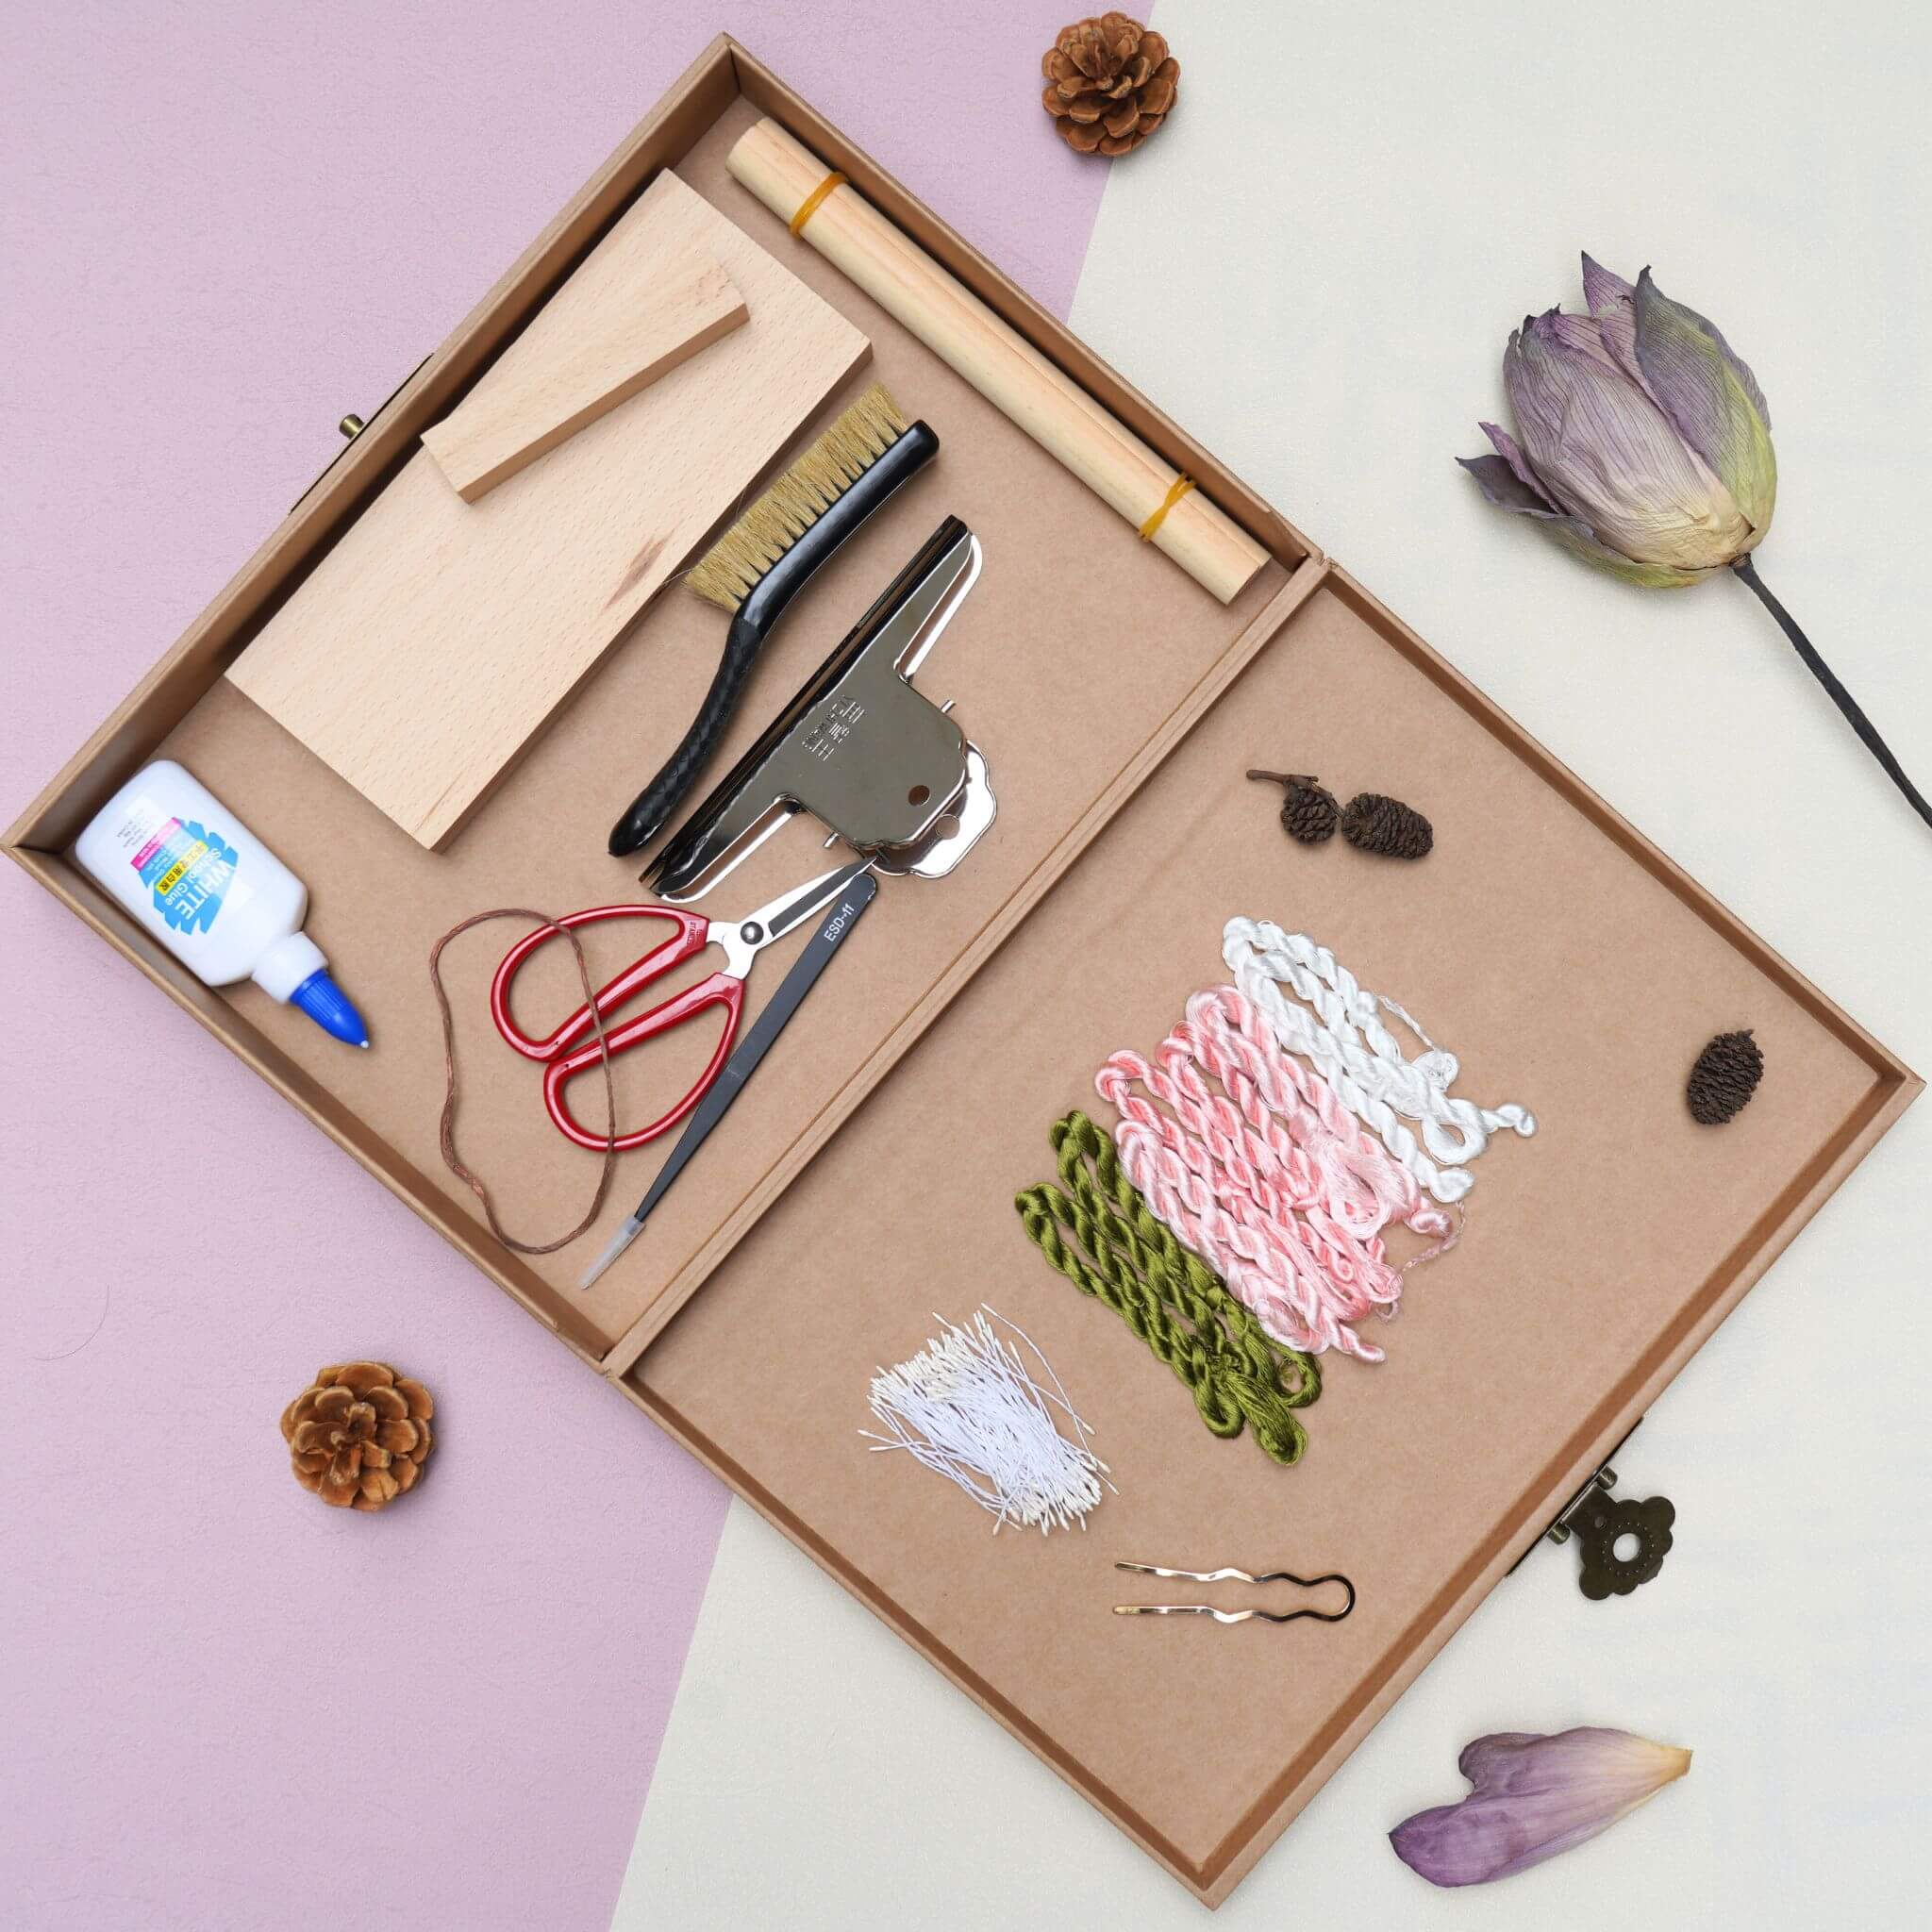
For unstable ones, apply a bit of UV glue at the base, adjust the angle, and cure with a UV lamp. You can also add a tiny amount of glue to the back of the petal to help with support.
Step 4: Wrap and Finish
Once the shape is restored, wrap the visible copper wires with thread, tie a knot, and trim off the excess.
✅ Before vs. After? It's not brand new—but it's so much better!
Quick Fix: Reshaping a Lotus Leaf
Next, I reshaped a lotus leaf that was assembled petal by petal with white glue, making it impossible to take apart.
Here’s how to reshape it:
- Lightly dab setting solution onto the velvet strips.
- Once softened, gently reshape the curves.
- Let it dry completely.
- Reassemble.
Simple, but effective.
Part 2: Restoring a Fluffy Velvet Flower
This second flower wasn’t flattened but had lost its fluff. Here's how I brought back its volume:
Step 1: Disassemble Carefully
Remove the velvet strips one by one. Be careful not to cut the copper wires in the process.
Once disassembled, I had a neat pile of velvet strips ready to be revived.

Step 2: Straighten and Fluff
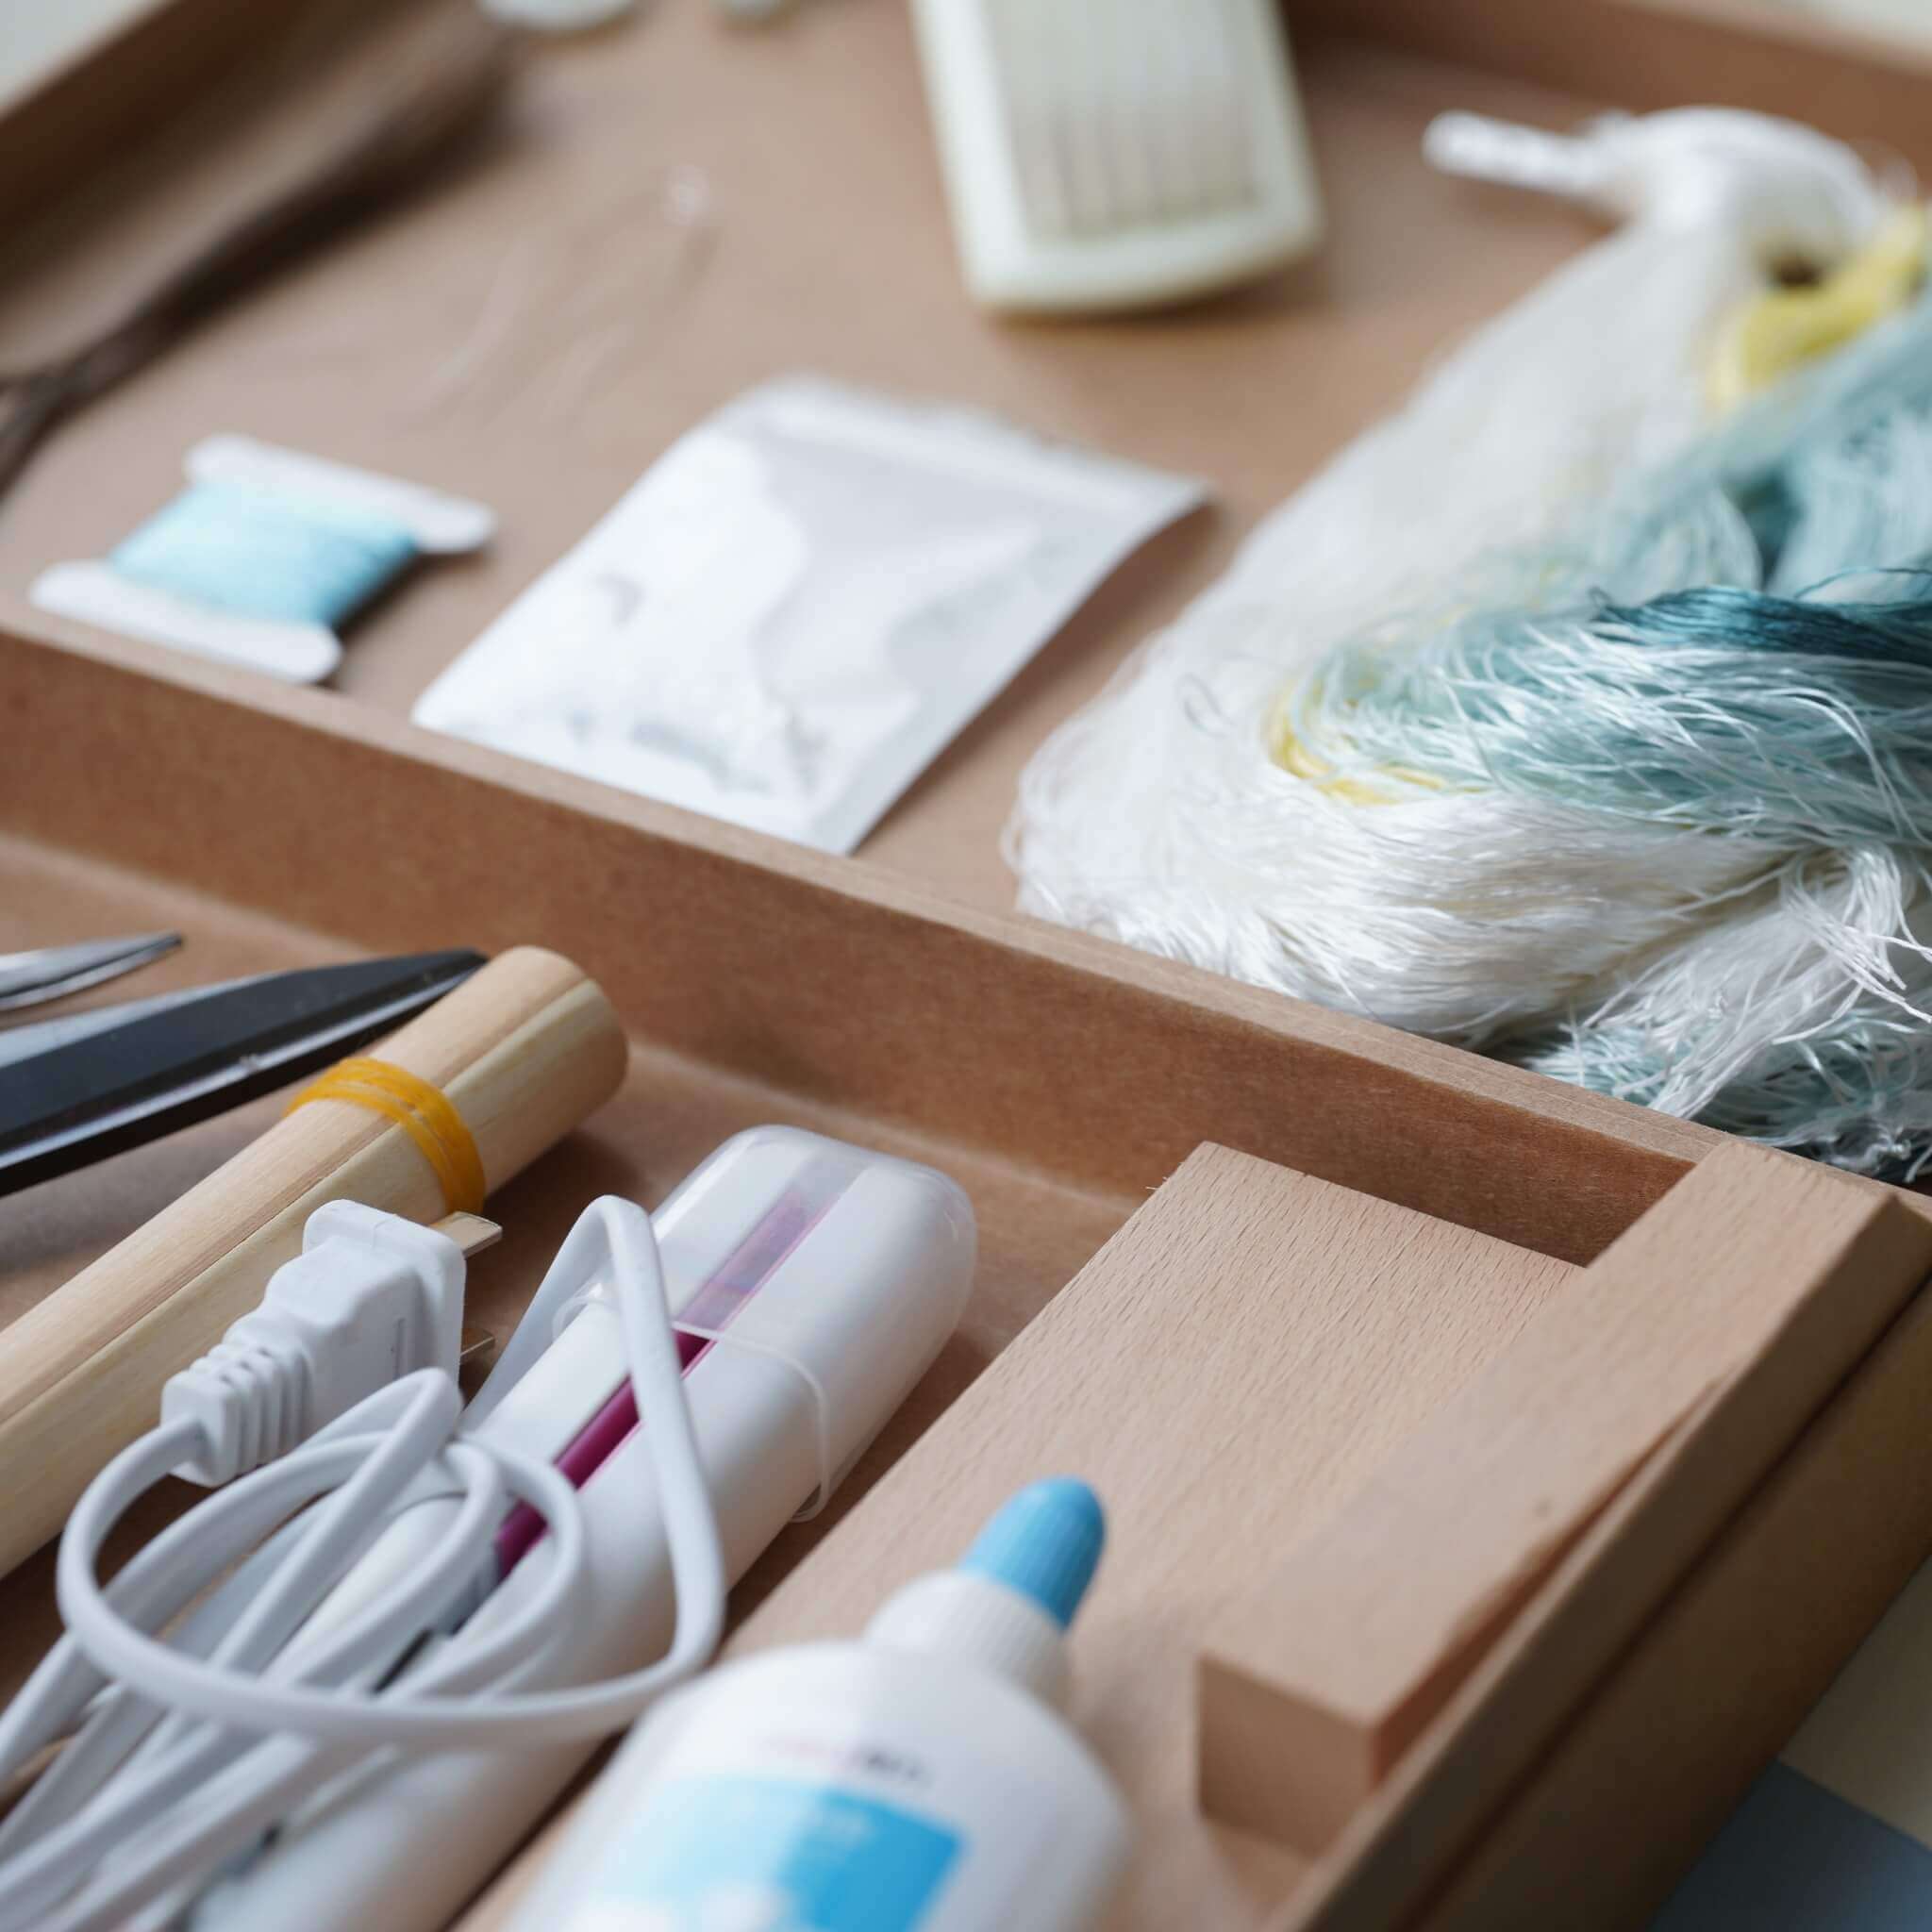
Unfold each strip and straighten them. Use a wire straightener to smooth the copper wires inside. Then, run tweezers gently over the strips a few times to help restore their fluff.
Step 3: Steam Treatment
Hold the strips over a cup of freshly boiled water to let the hot steam rise through them. The thermal expansion helps bring back their volume.
Leave for 1–2 minutes, then tweak the shape again with tweezers.
Step 4: Reassemble and Mount
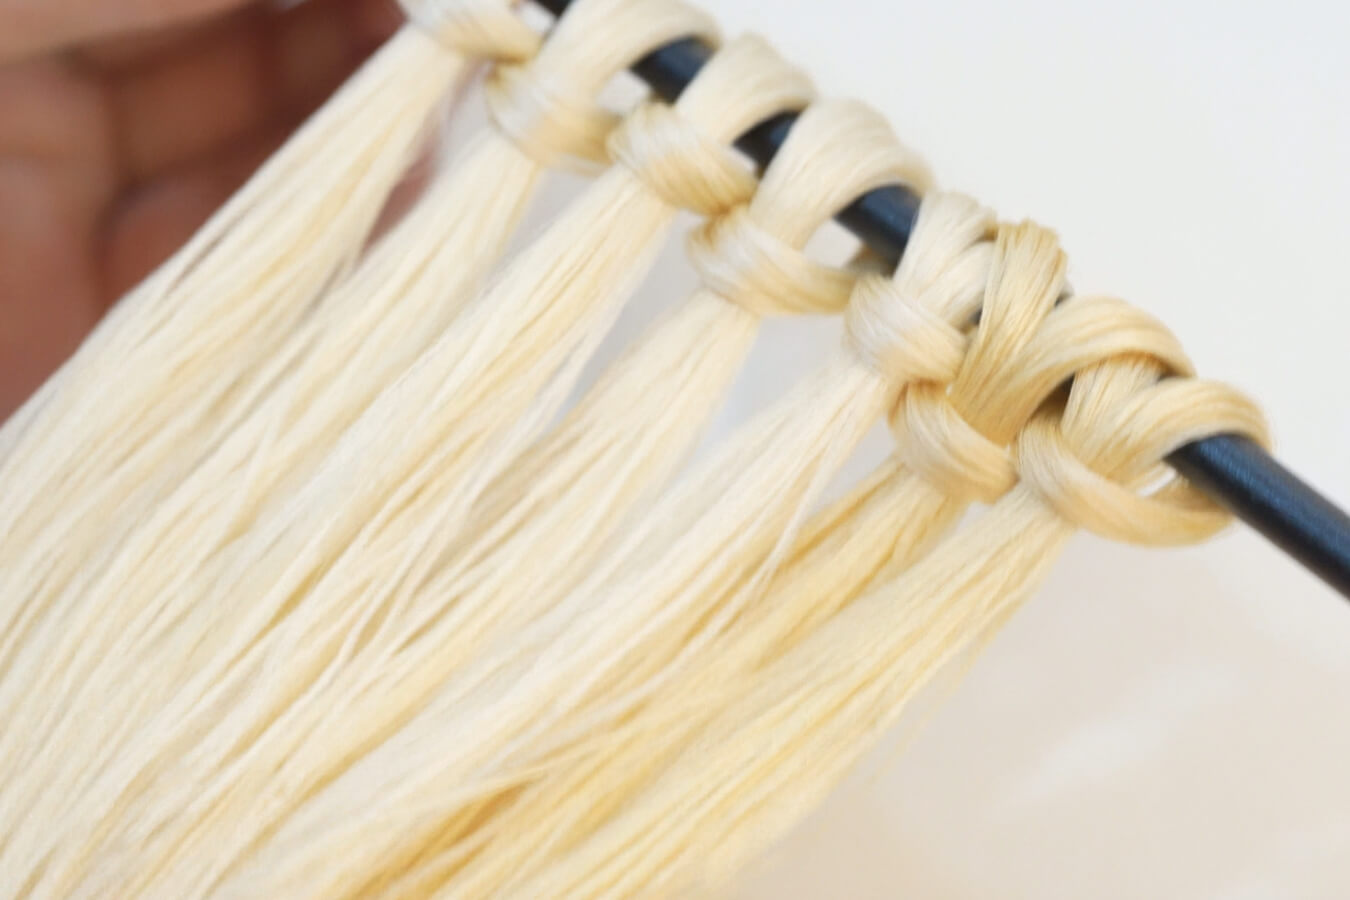
Twist the base of each strip tightly by hand or using a wire straightener. Fold the strips in half, align the bottoms, and reassemble the flower.
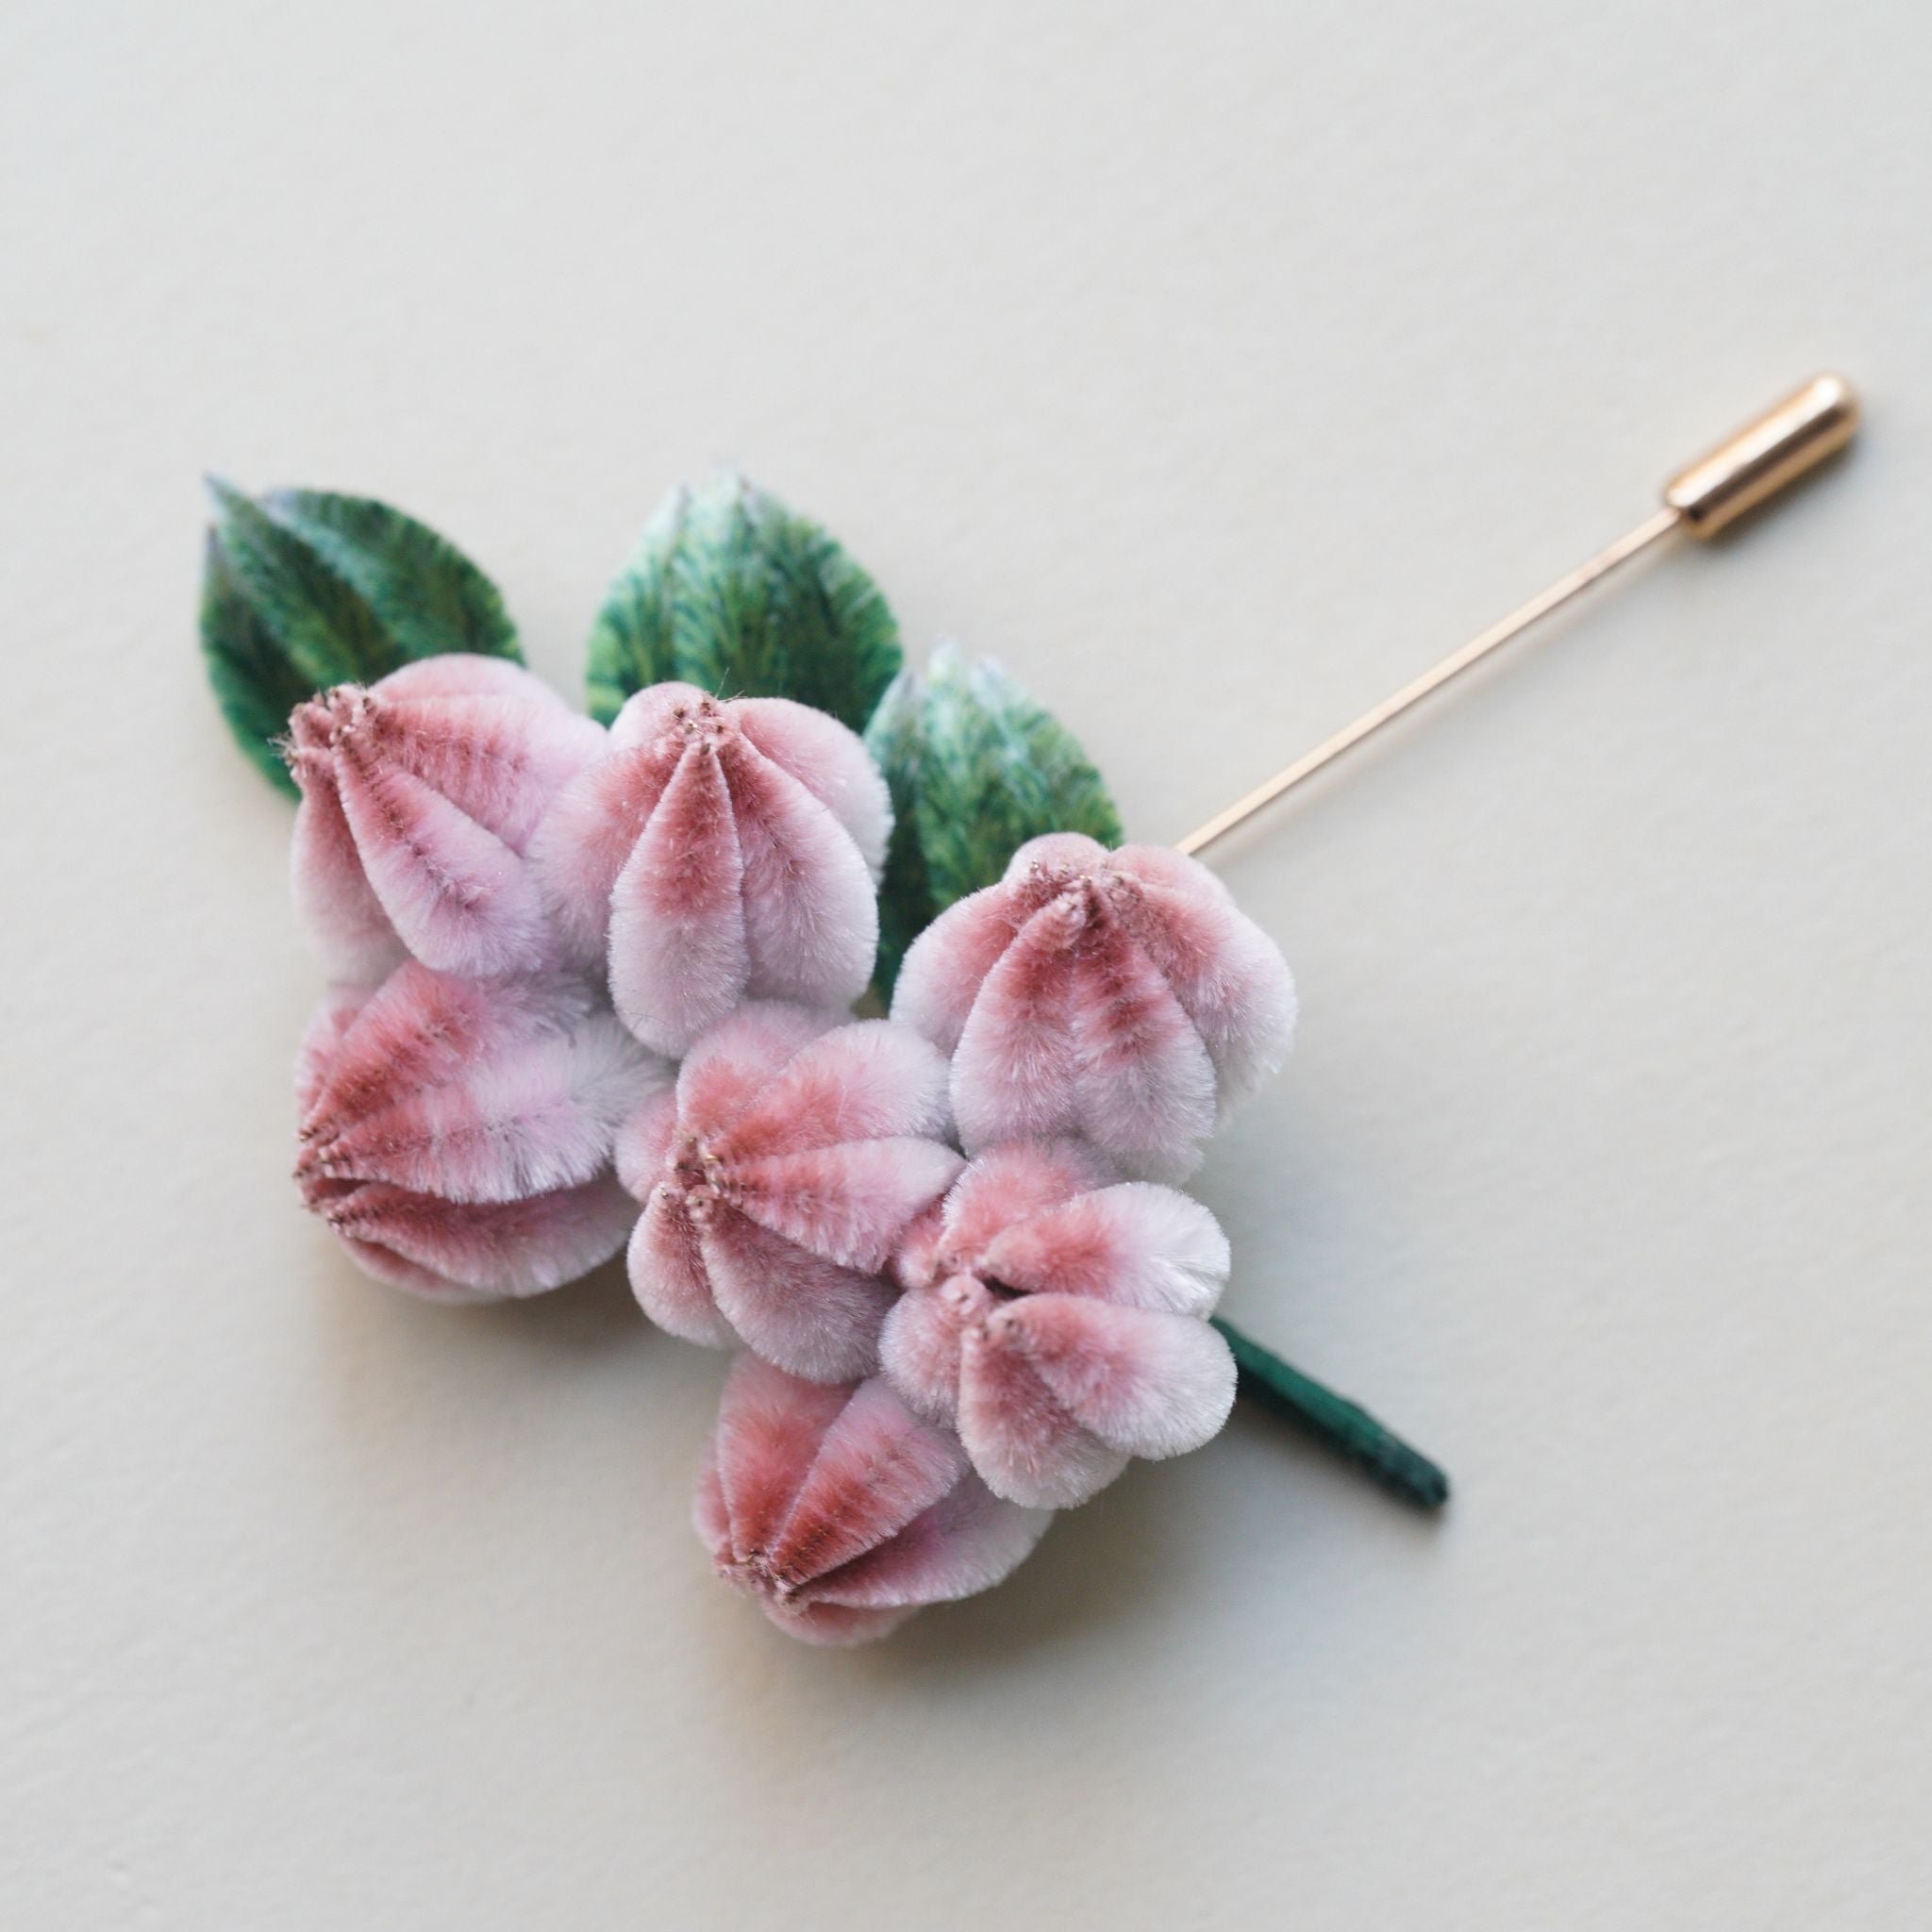
Since the flower was now too small for the original base, I swapped it out and turned it into a brooch. Just twist the wires securely and attach it to your new base.

💡 Final Velvet Flower Care Tips
- Store with care: Always avoid bumps or pressure—especially for fluffy flowers.
- Don’t force repairs: If something is stuck with strong glue, adjust instead of forcing it apart.
- Work slowly: Velvet and copper wire are delicate; gentle hands go a long way.
That’s a Wrap!
Velvet flower restoration may take some patience, but it’s incredibly rewarding to see these delicate blooms come back to life. Even if the results aren’t perfect, they’ll be a lot more vibrant and presentable than before.
💬 Got questions or want to share your own restoration project? Leave a comment or tag me on social!
Don’t forget to watch the full video for a detailed demonstration.
Subscribe on YouTube for more traditional craft tutorials!



Hinterlasse einen Kommentar
Alle Kommentare werden vor der Veröffentlichung moderiert.
Diese Website ist durch hCaptcha geschützt und es gelten die allgemeinen Geschäftsbedingungen und Datenschutzbestimmungen von hCaptcha.