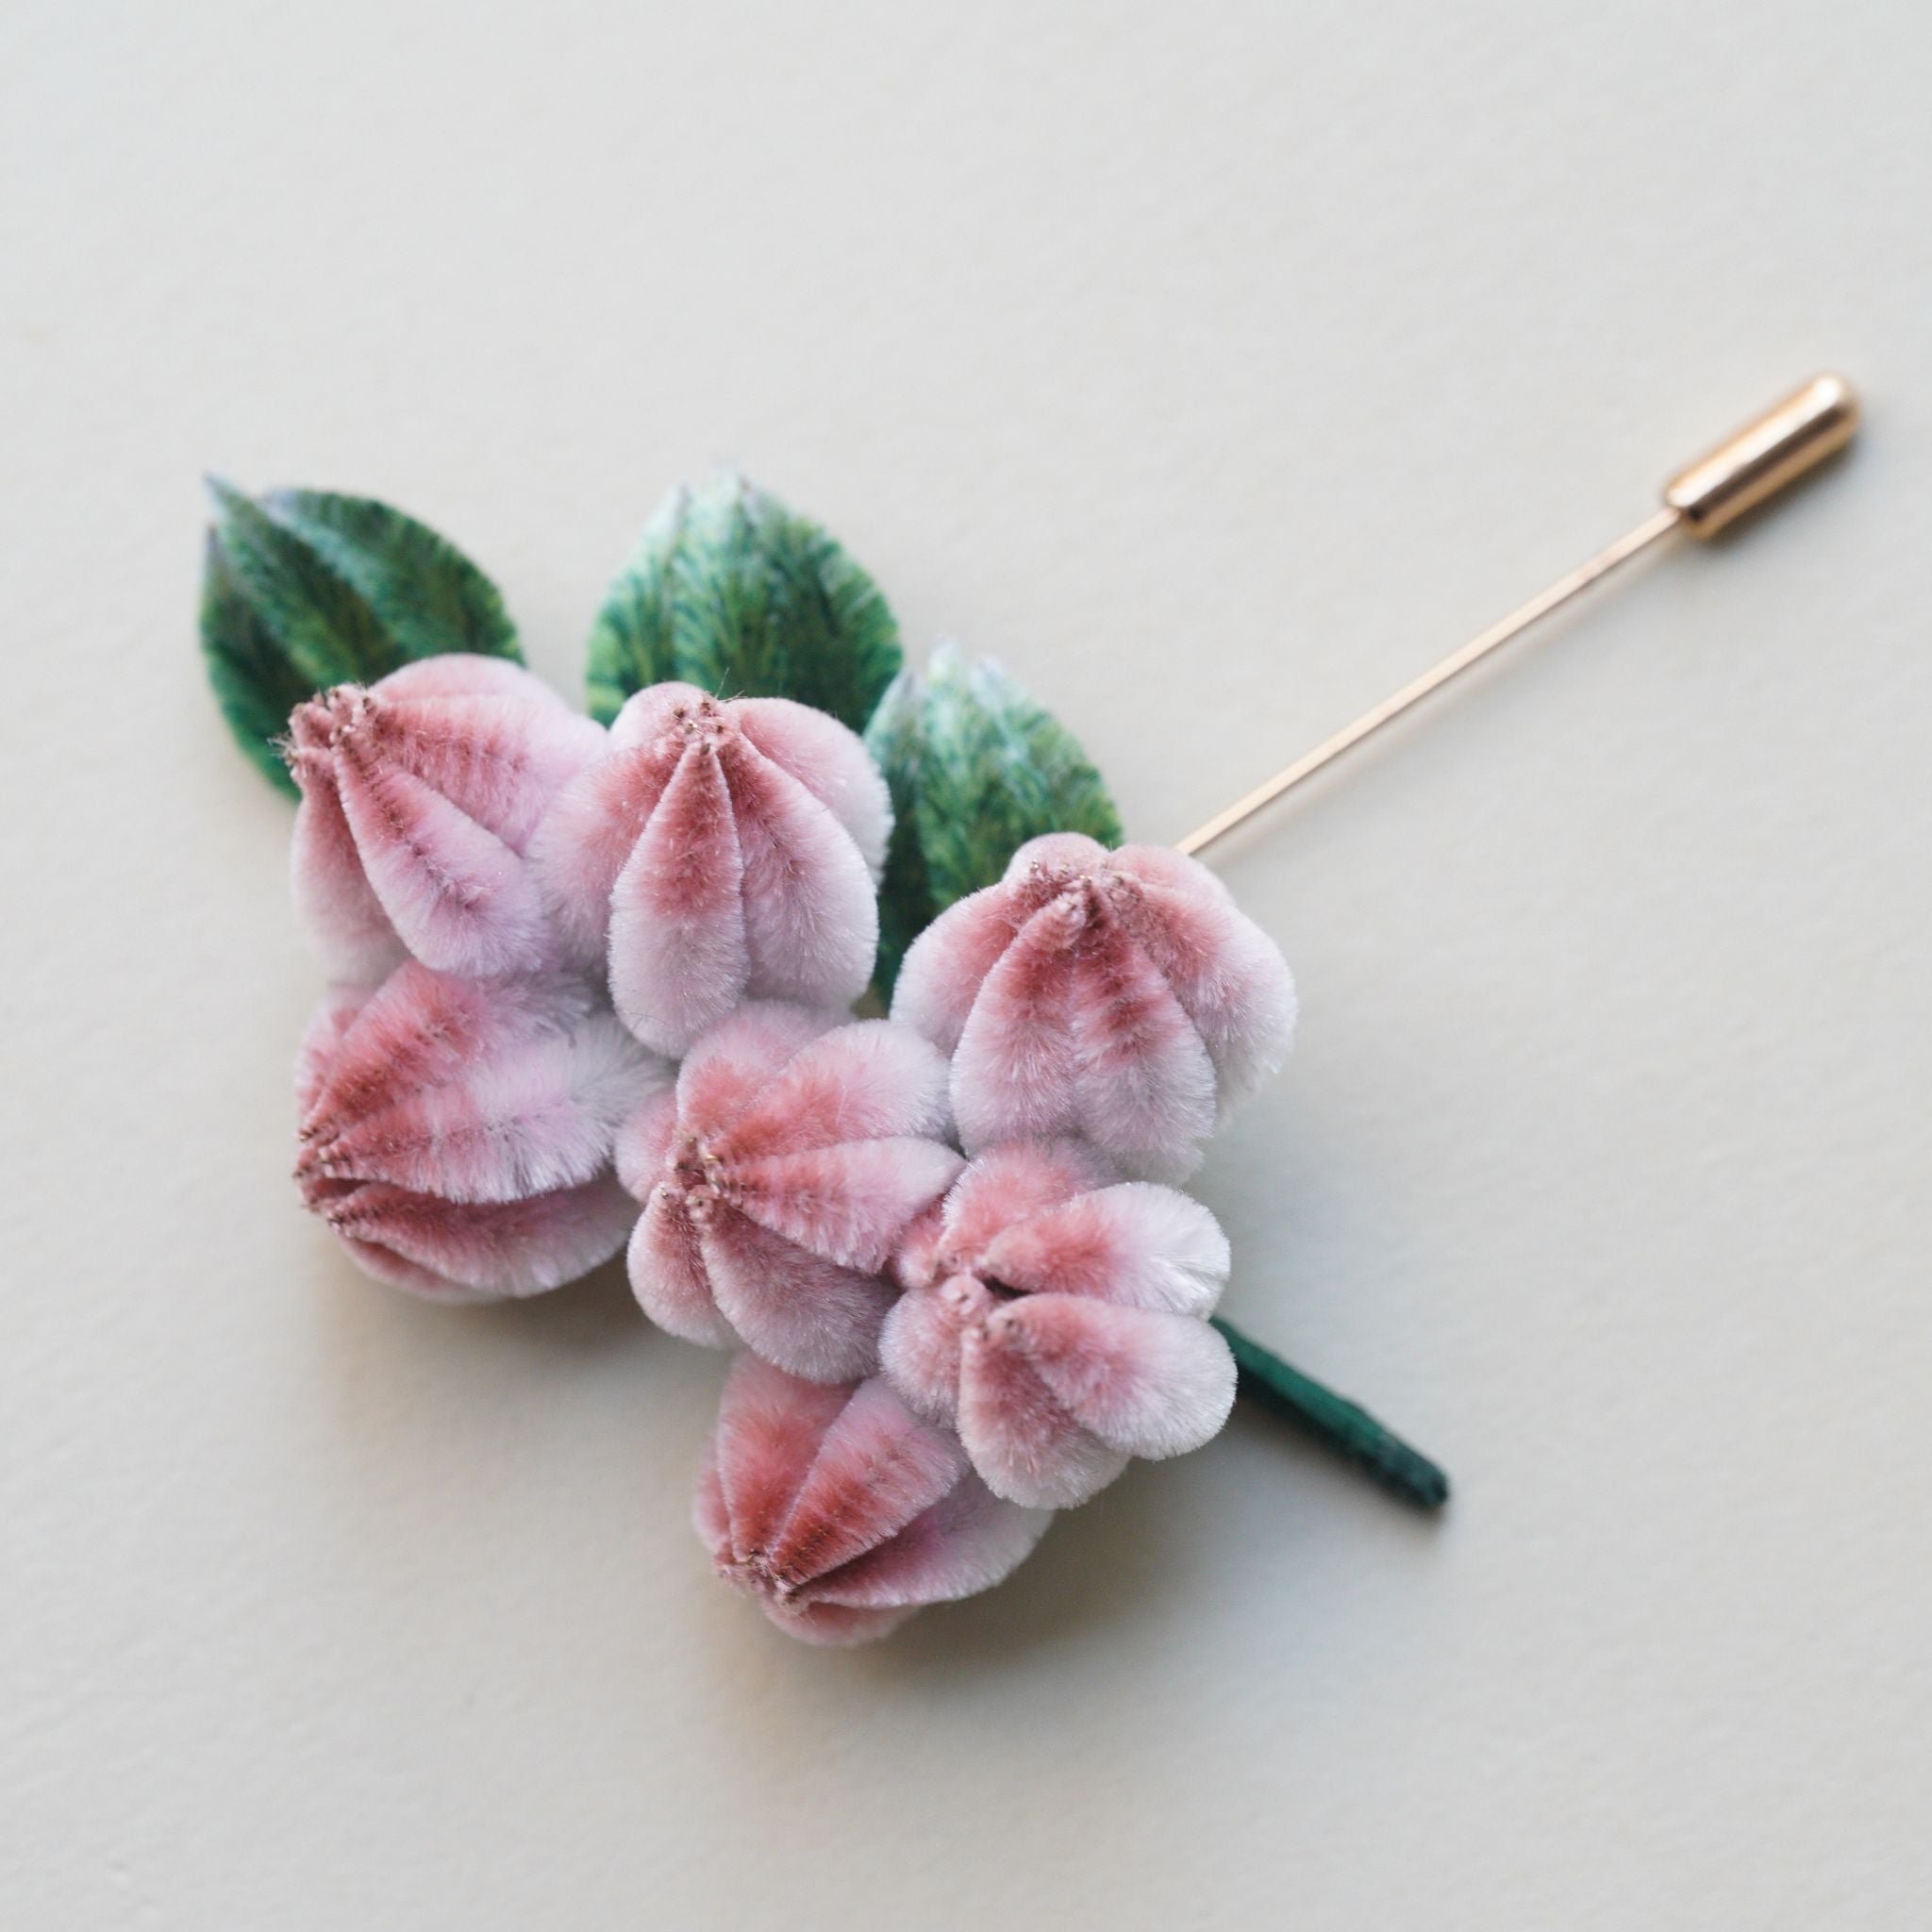
The Mid-Autumn Festival symbolizes reunion and harvest. The full moon represents the gathering of family and loved ones, embodying people’s longing for home and those dear to them. Falling on the 15th day of the eighth lunar month, the festival marks the season of autumn harvest, when people celebrate the fruits of their labor and enjoy nature's bounty. In this session, we'll teach you how to make ronghua inspired by the Mid-Autumn Festival, featuring osmanthus flowers, the moon, and cute little rabbits.
Osmanthus Flowers:
1.Arranging threads.
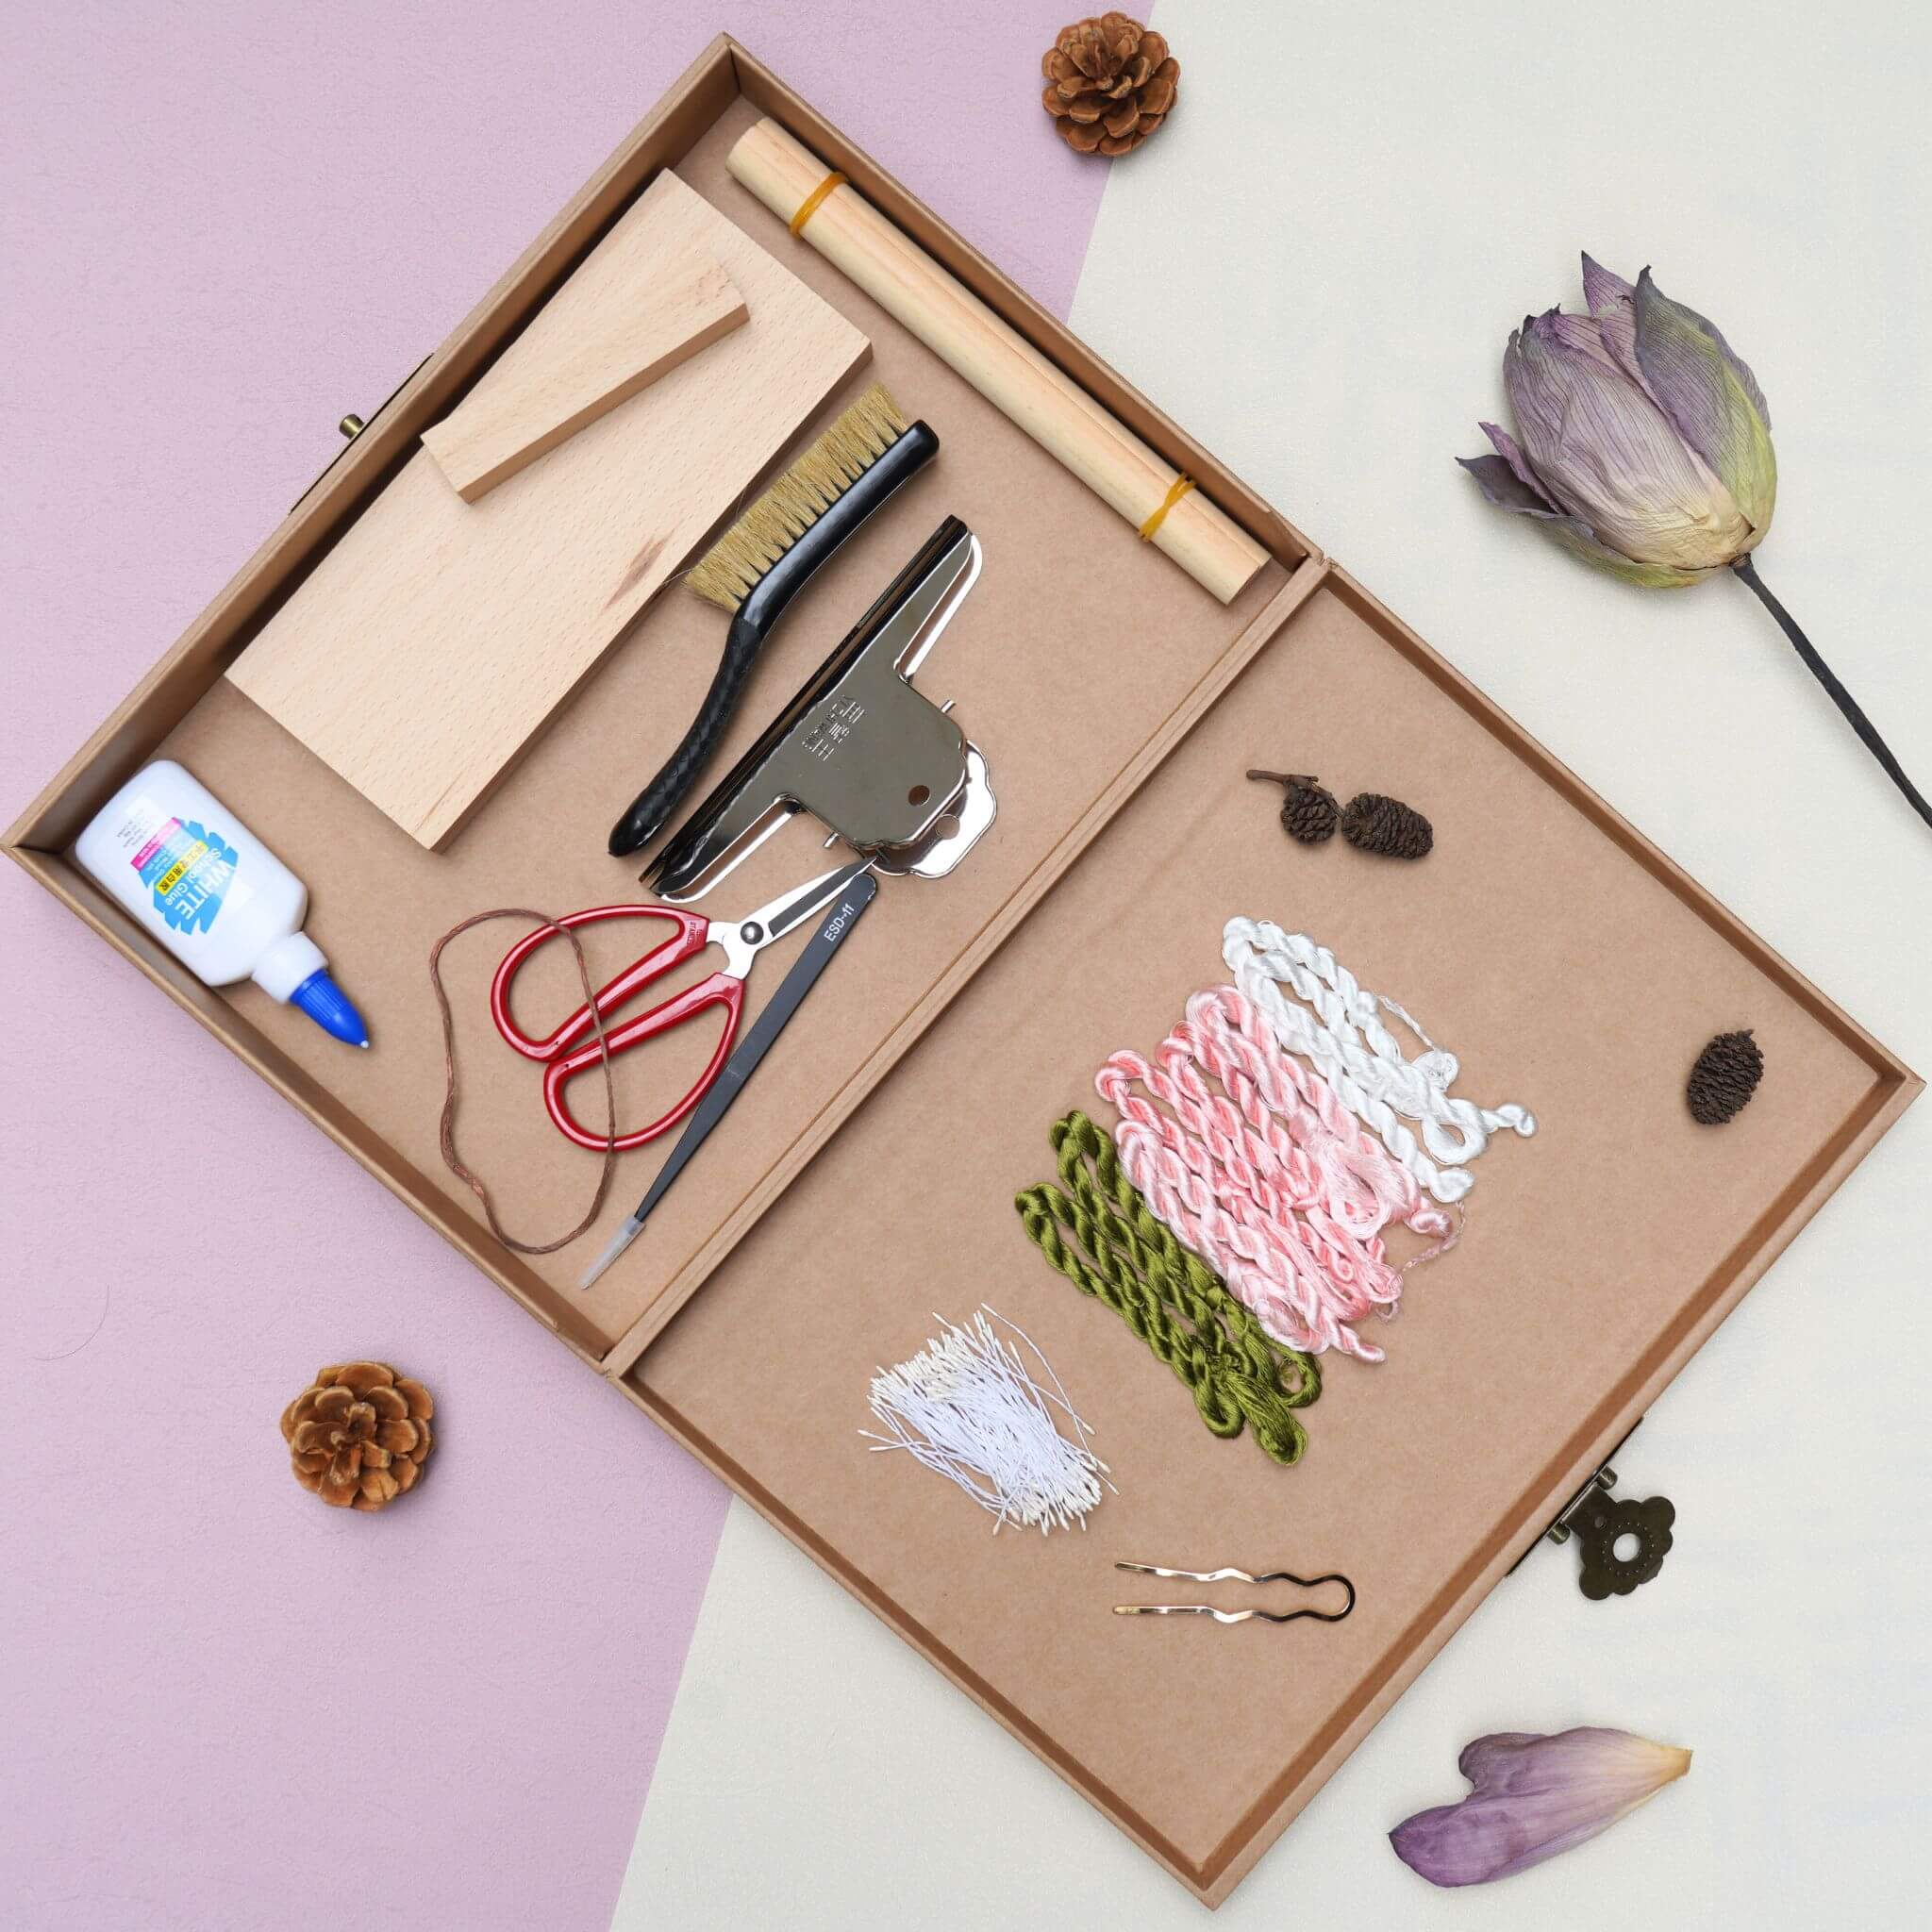
I chose two different shades of yellow for this project. Each set consists of five threads, and I prepared five sets for each color. After arranging the threads, check for any knots in the silk; if there are any, either untangle them or cut them off. The next step is to brush the threads. Before brushing, you can lightly spray some water to prevent static and keep the threads from flying around. Brush the threads until they are loose and smooth. This step usually takes about 5 to 10 minutes.


2.Clamping copper wire.
Since we are making osmanthus flowers, which are very small, we need to make the silk strips smaller. The size of the silk strip depends on the spacing between the copper wires. For this project, the spacing is around 5mm. Thin strips can be challenging for beginners, so it’s okay to make them a bit wider at first, as they can be trimmed later. The key to clamping the copper wire is to straighten it first. When clamping, pull the copper wire tight with both hands and twist in opposite directions. Applying magnesium powder or talcum powder to your fingers makes twisting easier. If the copper wire isn’t clamped tightly, the silk rank will easily come apart when cutting later, so this step is crucial.


3.Cutting silk strips

4. Rolling strips.
This is the simplest step. Place one end of the copper wire on the rolling board, pull the other end tight with your hand, and roll the copper wire until it is firmly twisted.

5.Cut the strips in half.
Since the strips consists of two different shades of yellow, use scissors to divide them into two equal parts.

6.Press strips flat.
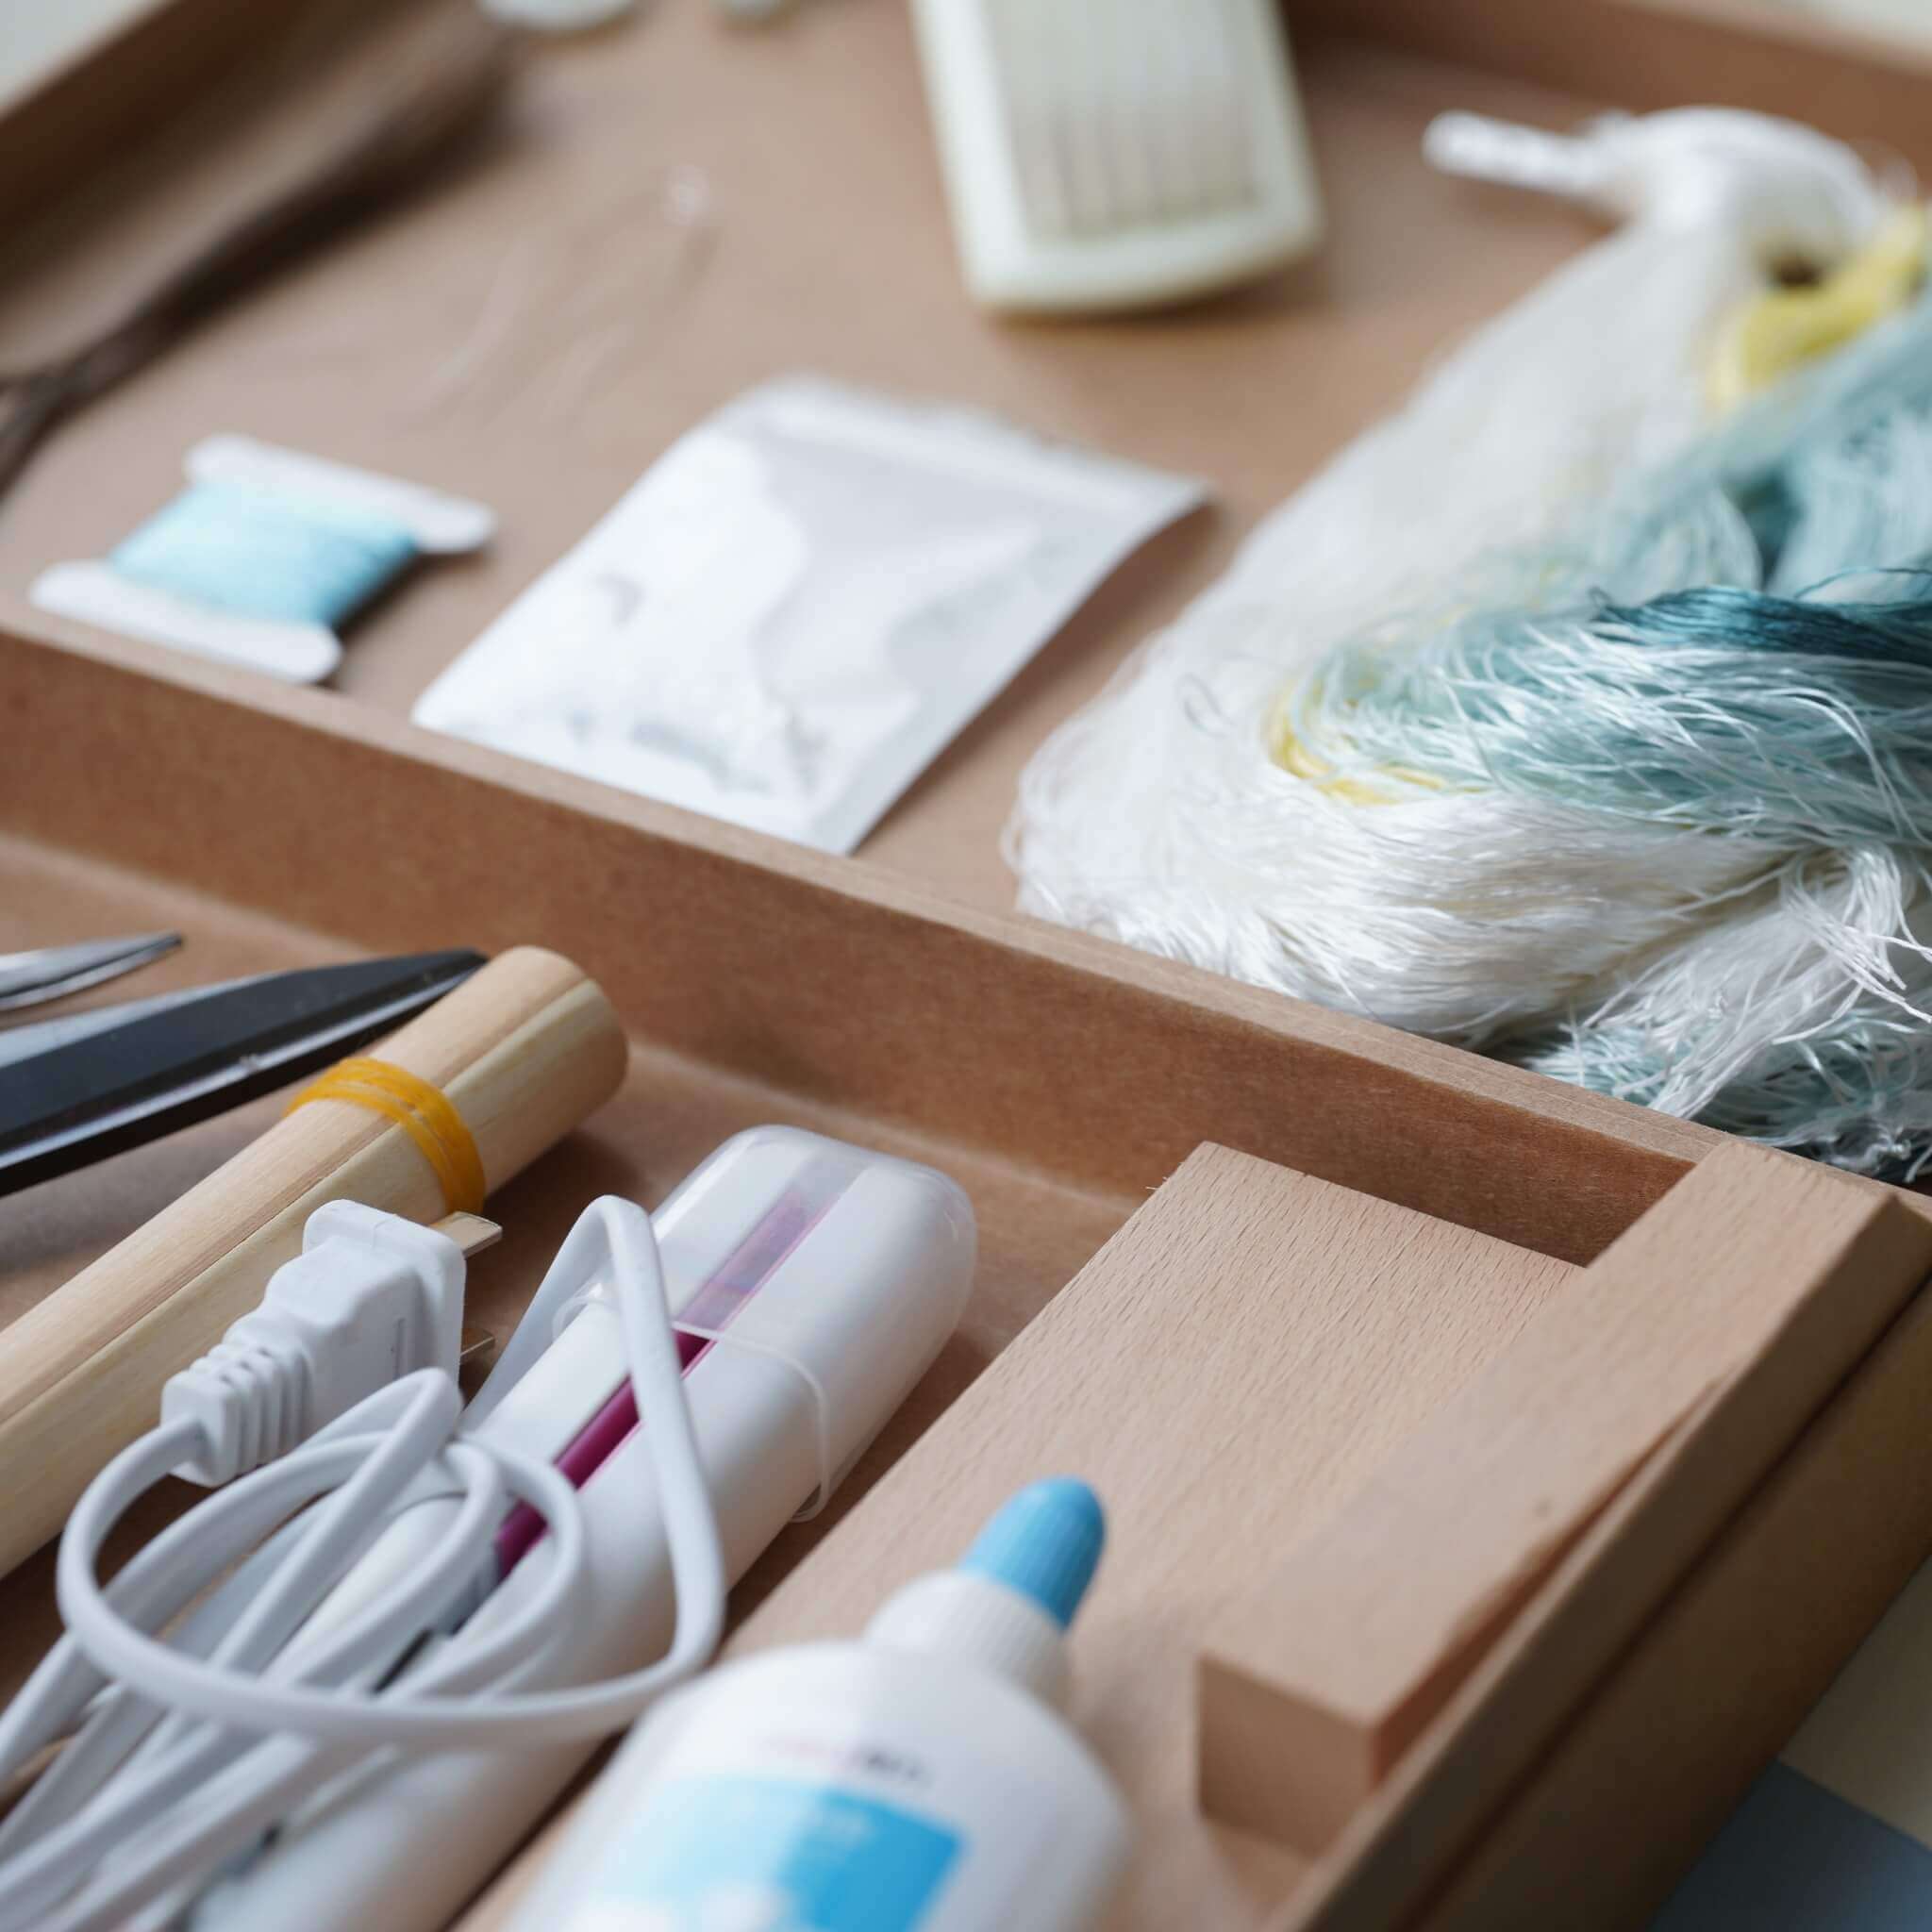
Use a mini iron to flatten the strips.


7.Set shape.
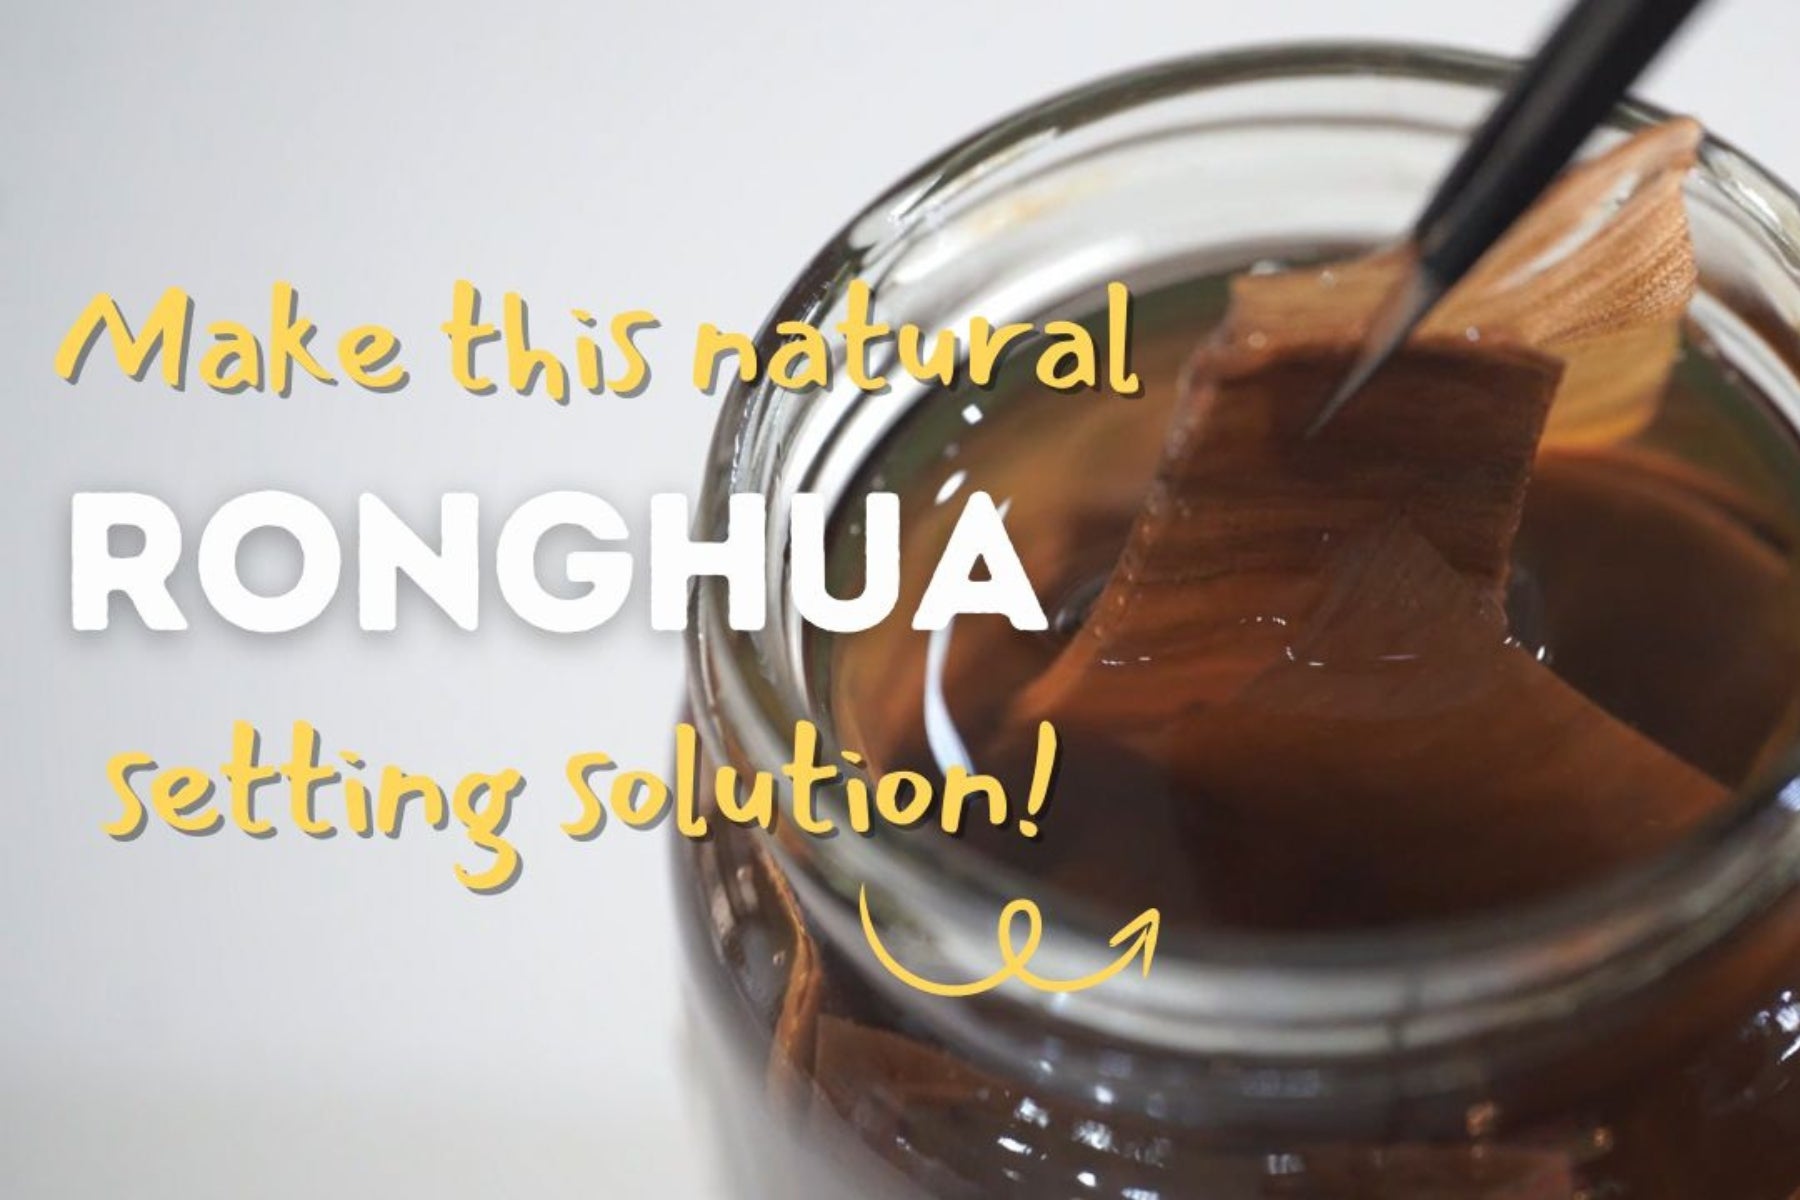
Evenly apply setting liquid to the flattened strips and let them dry.

8.Shape petals.
I made two types of osmanthus flowers: one is the pressed version, and the other is the wire-bent version. The shaping process for these two types is slightly different. For the pressed osmanthus, I used a flower shaping tool that requires electricity. If you don't have one, you can use a substitute, such as a round stick, which works similarly. The round stick should be used at the shaping stage, quickly forming petal shapes while the strips are still damp with the setting liquid. The flower shaping tool, on the other hand, is used after the strips have dried.


9.Assembling the flowers.
After shaping the petals, use thread to assemble the petals into a whole flower. First, attach the petals one by one, then combine the individual osmanthus flowers together.

10.Attaching to the base.
Secure the completed osmanthus flowers to the desired base using silk thread.

Moon:
1.Arranging threads.
I’m making a moon with a yellow-to-white gradient. Each set consists of five threads, and I prepared 13 sets in total.

2.Brushing threads.
3.Clamping copper wire.
4.Rolling strips.
5.Pressing strips flat.
6.Setting shape.
(These steps are the same as described above.)
7.Gluing strips.
Since we’re creating a full moon, a single strip won’t be large enough, so we need to glue two strips together using white glue.


8.Wire bending.


Rabbit:
1.Arranging threads.
I’m making a small pink and white rabbit using both white and pink threads. Each set consists of 12 threads, and I prepared 10 sets in total.

2.Brushing threads.
3.Clamping copper wire.
4.Rolling strips.
5.Trimming strips.


6.Assembling.




Leave a comment
All comments are moderated before being published.
This site is protected by hCaptcha and the hCaptcha Privacy Policy and Terms of Service apply.